Base Rocky Linux Install
BY LARRY APOLONIO · October 19, 2021
Original Document was created October 19, 2021
Updated March 20, 2022 for Rocky Linux 8.5
Introduction
If you want to build a system like the ones I use in my lab, use the Rocky-8.5-x86_64-dvd1.iso, and do a server build. I do not normally do a DVD, I use kickstart from either a custom USB (I got those for sale) or a network boot using PXE(That is covered in another document), but these instructions get you close.
Quickstart
This section doesn’t get you there quicker but goes through essentially what is below it but without some description and the screen shots. So if you were printing something out to follow, save a tree and print the first page or two of this document.
- Boot from the DVD and select Install Rocky 8
- On the Welcome to Rocky Linux 8 screen select English/English(United States) and click continue
- On the Installation Summary screen, do the network & hostname settings first, depending on your screen, you may need to scroll down to get to it.
- The reason you need to set networking up first is because DATE and TIME will not have NTP available.
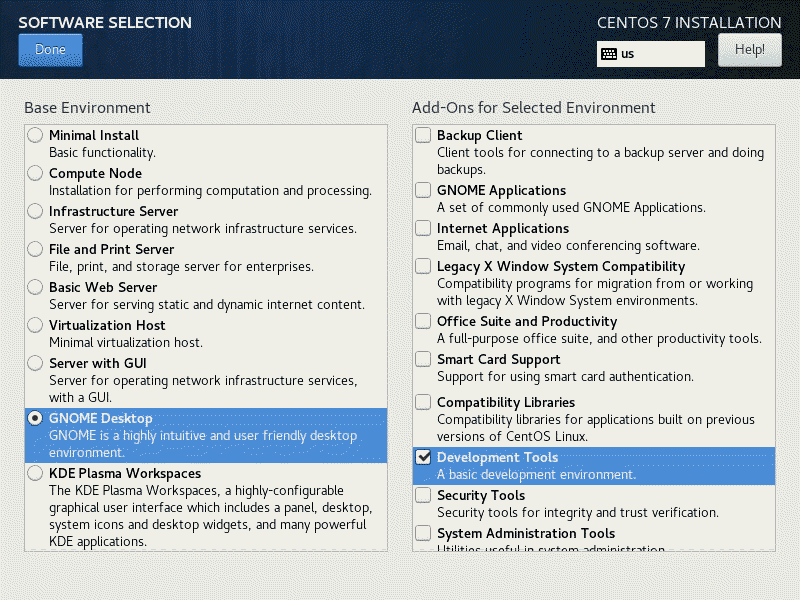
- For the Software Installation, for the Base Environment select Server (no GUI)
- For the Add-Ons for the Selected Environment Select
• Windows File Server
• File and Storage Server
• Network File System Client
• Performance Tools
• Remote Management for Linux
• System Tools
• Guest Agents - For the Installation Destination, select the hard disk you want installed and Automatic configure partitioning.
- When all the orange warnings are gone, you can click begin installation
- It will begin installing, while it is doing that, set the root password and create an admin user account.
- Wait, the indicator line moves quickly at first, but it slows down at the end.
- When Done you can click Reboot
- After a reboot, log in as root
- Download the list of packages to install with the following command (note the two dashes)
wget –no-check-certificate https://my.apolonio.tech/linux/server85.txt - Install those packages using the following command, from the DVD (no updates)
dnf -y install $(cat server84.txt) - Disable selinux editing /etc/selinux/config and changing
SELINUX=enforcing
to
SELINUX=disabled - Reboot
Optional
I also prefer using older interface names of ethX so this is enabled in the kickstart, but this is how to do it manually.
- Edit /etc/default/grub
- On the GRUB_CMDLINE_LINUX I add “net.ifnames=0 biosdevname=0” after swap and before rhgb
- Run grub2-mkconfig to check config
- Run grub2-mkconfig -o /boot/grub2/grub.cfg
- Reboot
- Run nmtui and delete the old connection
- Add a new ethernet connection called System eth0 with the device eth0
Final
At this point you should be close to where the homeserver kickstart is at, I recommend running
Patch your server
dnf -y update
And reboot one last time

