Atomic Pi Review
Yesterday I was perusing the Internet when viewing some youtube videos when I came across one mentioning a cheap x86 based Single Board Computer. This SBC called an Atomic Pi caught me off guard, I thought this thing would cross my path due to me being involved in so many maker things.
This board was so cheap at $35.95 + tax that I purchased two and it came in quickly.
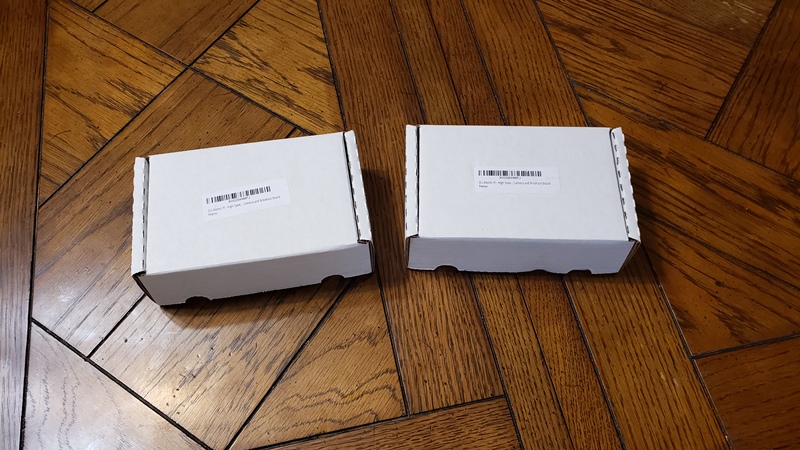
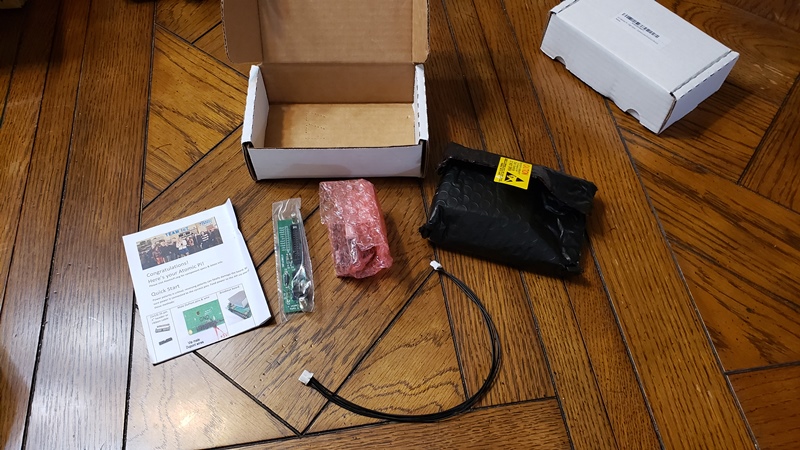
The box contained the 3 smaller bags, a quickstart document and a cable.
It did not come with a power supply, it needs a 5V power supply at 2.5A. What is different from a Raspberry Pi is that it has this breakout board you attach to the SBC and it has a standard DC barrel connect to an AC to DC wall wart you can find. I had two lying around that would work, one had 3A so I used it.
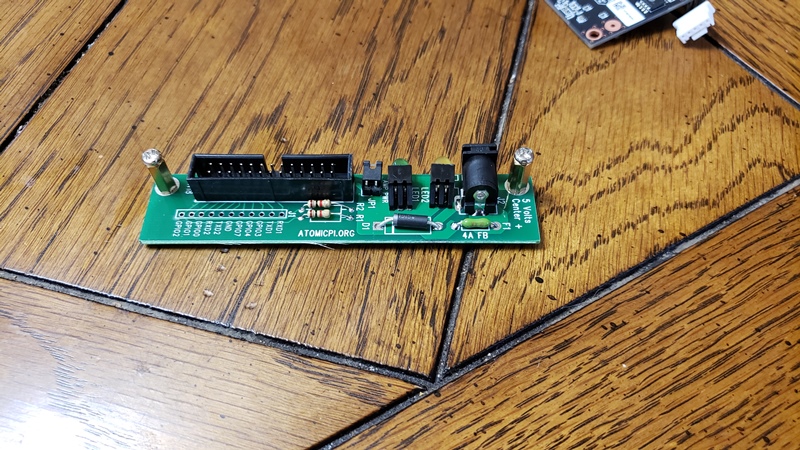
Here is the device itself
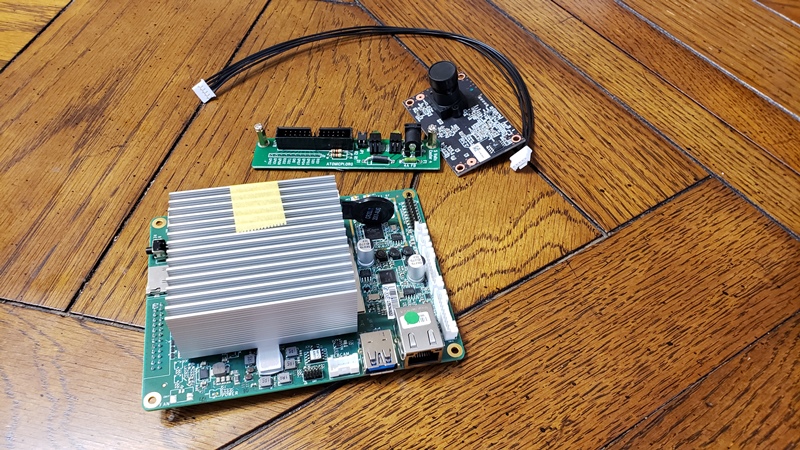
For $35.95 + tax you get the board, the baby card, camera with cable. Something must be wrong with this thing.
Not really though, for the price it impressed me.
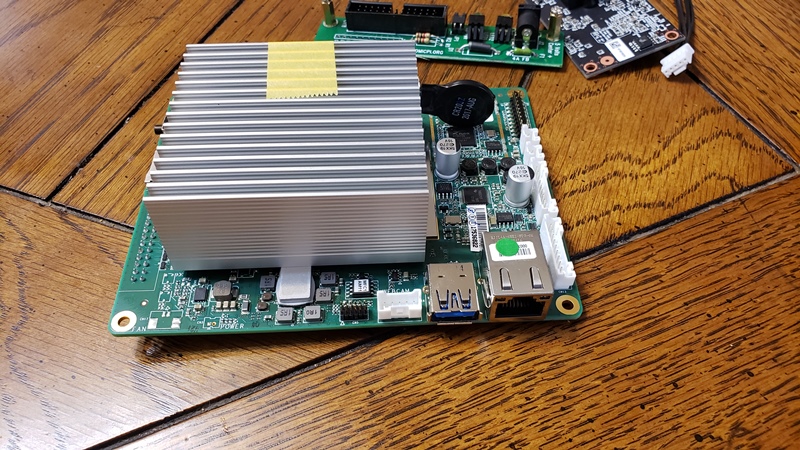
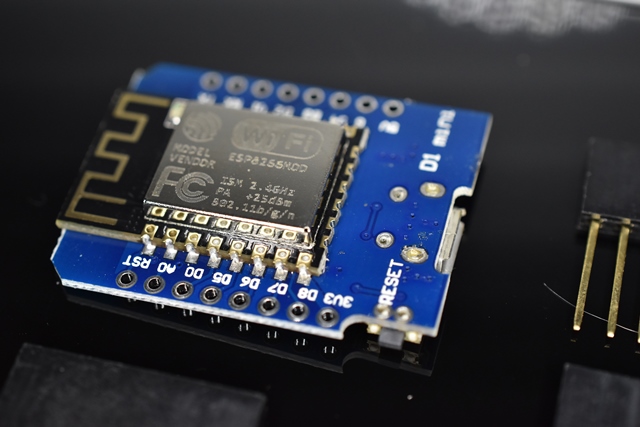
I call this the ethernet side. The NIC is a RTL8111/8168/8411 and looks like a real PHY not a USB ethernet.
Unfortunately it only has a single USB3 port, the white connector next to the USB port is for the camera, but I some documentation also says it is a USB 2 port.
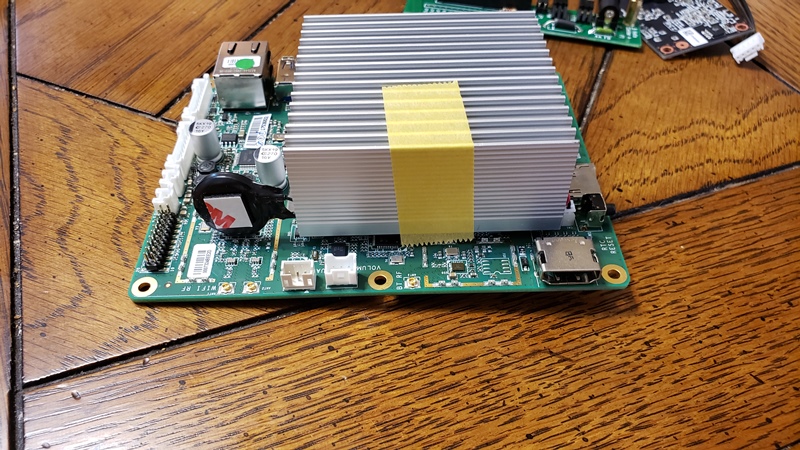
This side I will call the HDMI side, it is a full size HDMI which most of my monitors can connect to without an adapter for the cable. The two white connectors on that same side is a UART and volume.
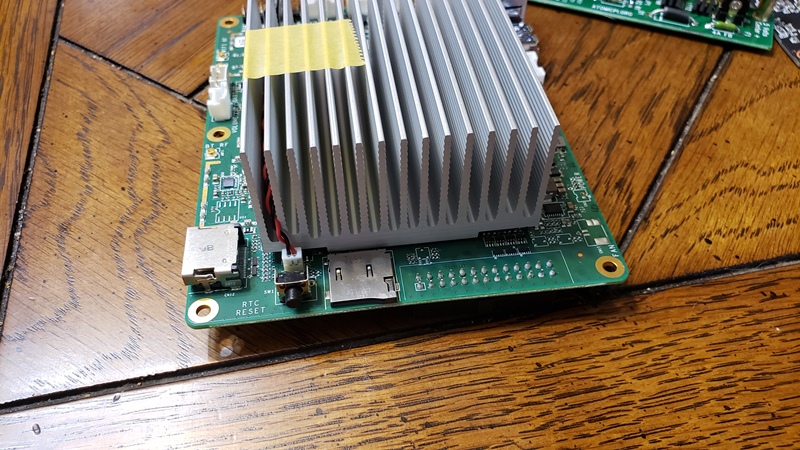
This side has button meant to reset the RTC (why that is weird) and a slot for a micro SD card. This is also the side where power would go in when the baby card is attached.
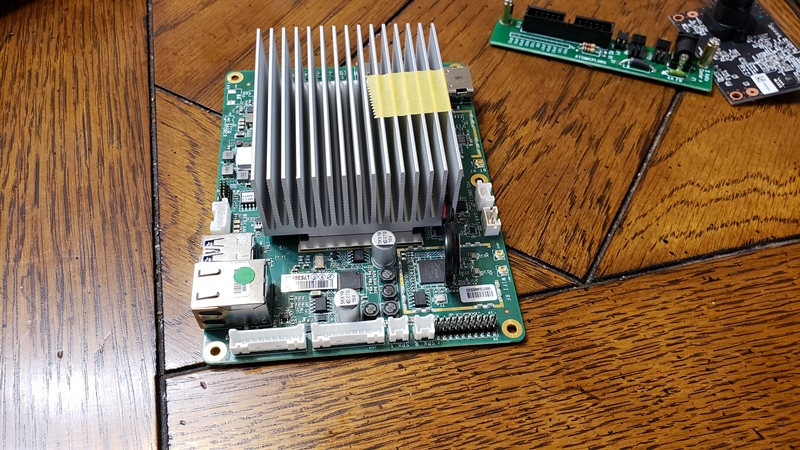
I am not sure what would go on this side, I know those two smaller connectors seem to be for audio.
Here are more specs of the device
- Intel(R) Atom(TM) x5-Z8350 CPU @ 1.44GHz
- 16 GB of Internal eMMC storage
- 2GB of RAM (and I could be reading it wrong looks to be ECC)
I plugged in HDMI, USB KVM hub which had a Keyboard and Mouse, network cable, then powered it up.
On first boot it wanted to PXE boot

So stopped it and had it boot to the eMMC which had a light version of ubuntu
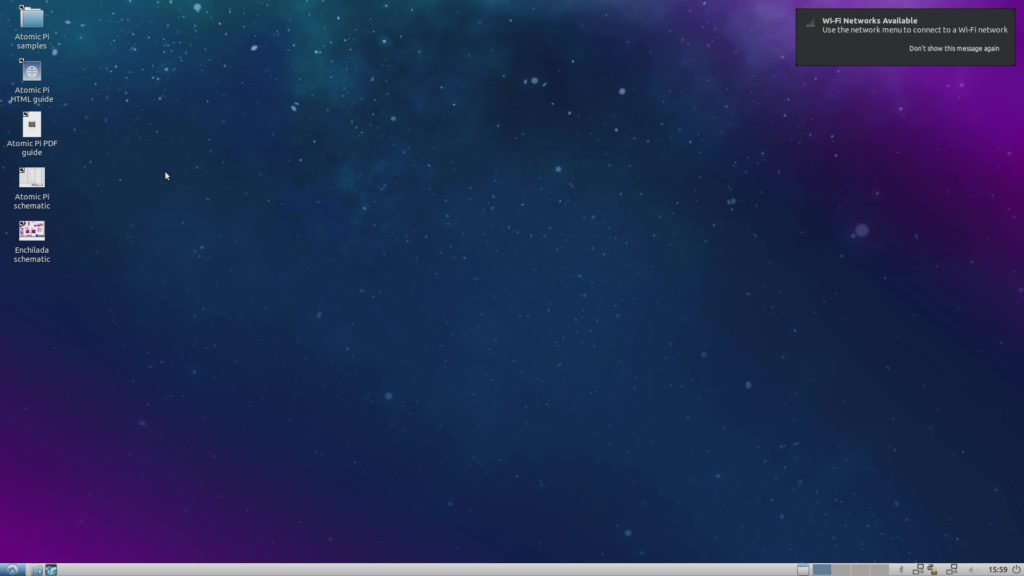
After a bit of rebooting and playing around, I learned that F7 would let you choose what to boot to.
(sorry no screen shot of that)
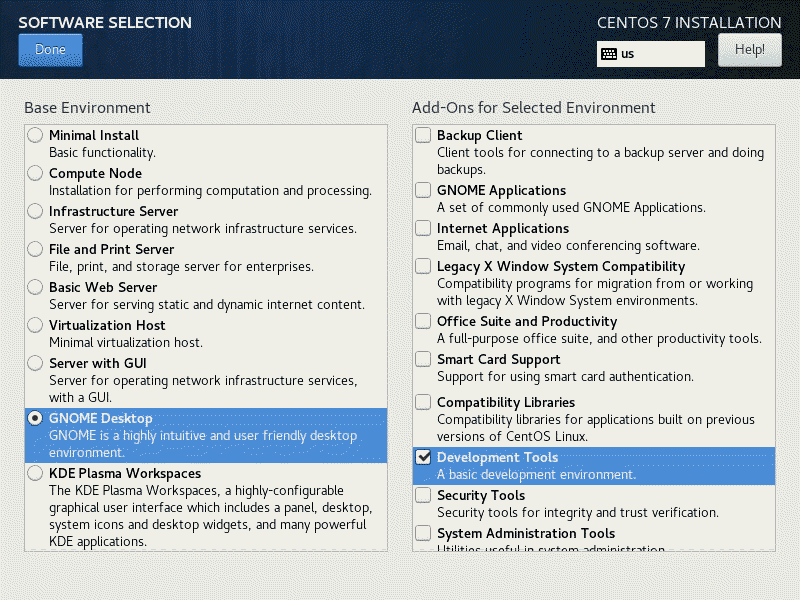
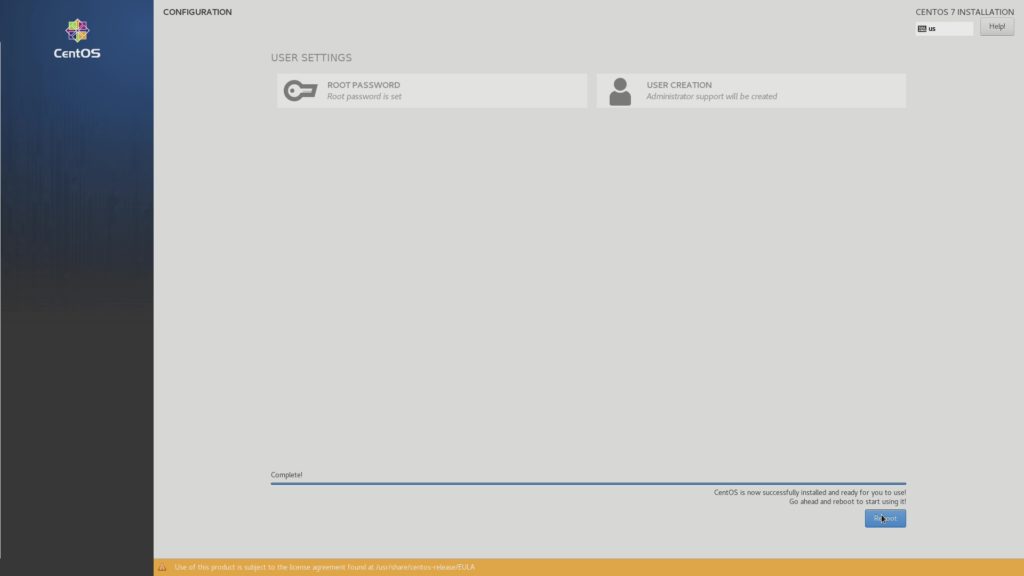
After PXE boot over network using UEFI I was able to install CentOS 7.
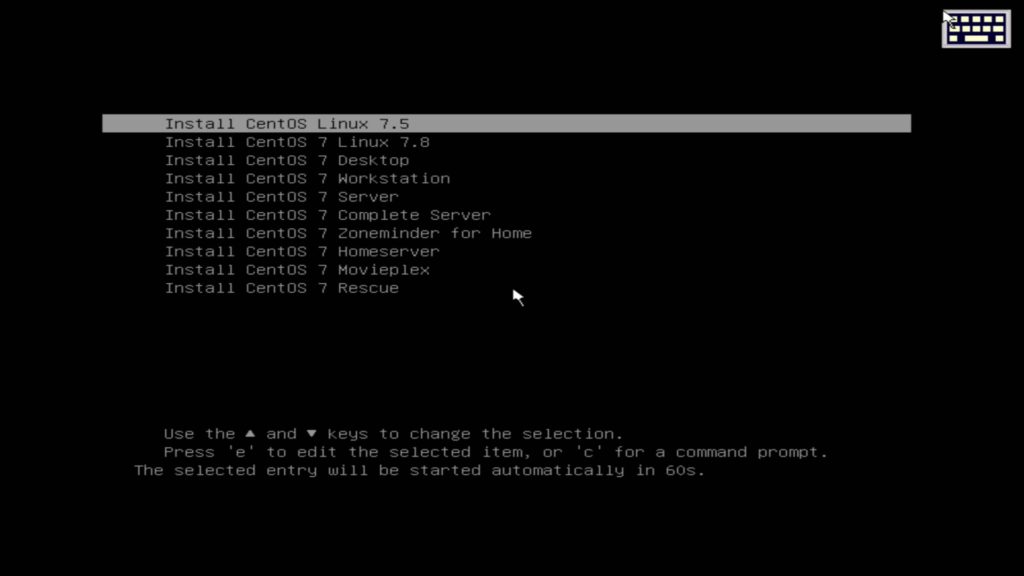
I had to manually install because most of my kickstarts were for disks with either NVME or SATA, not eMMC.
But I was successful
I will post more later, but this was a nice little diversion from my Zoneminder stuff.
